

I've been wanting to make something similar as I love a good quote or slogan (three out of the six tattoos I have are text based) plus embroidering lettering is one of my favourite things to do to switch off because it's sort if mindless but really satisfying at the same time. The lighting in these photos is a bit weird, so just ignore that bit...

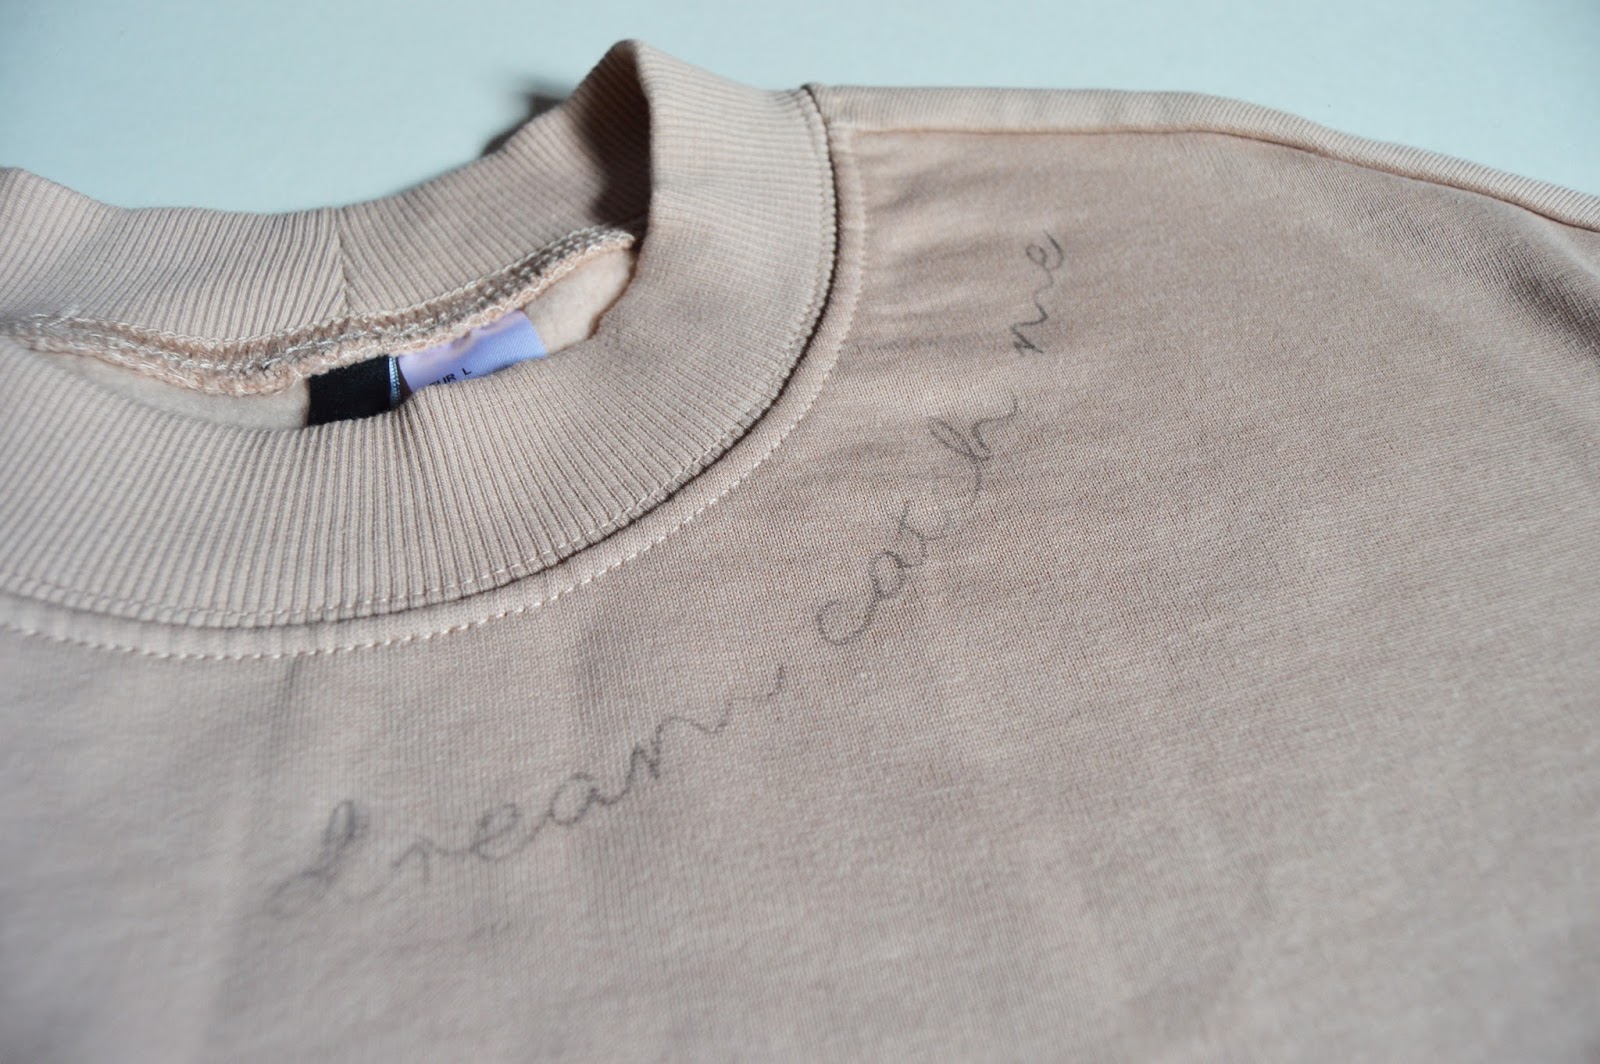
I decided to embroider a sweatshirt rather than a t-shirt and I found this oversized somewhere-between-nude-and-blush-pink one in H&M. It's not somewhere I usually shop, but I'd gone in as part of a massive hunt for the perfect yoga leggings and I found it reduced to £6! I've got a bit of a thing about collarbones so I've curved the text so it sits just under the neckband rather than having it straight on the chest.
I'm so happy with it! It's not strictly supposed to be oversized, but I bought a large so I could roll the sleeves up and wear it baggy. I chose to embroider the words 'dream catch me' which is part of a line from the Newton Faulkner song of the same name. We walked back down the aisle to it after we got married - ever the sentimental soul me!
Anyway - on to the tutorial:
You will need:
Sweatshirt (or whichever item of clothing you want to embroider)
Embroidery Thread
Needle
Embroidery Hoop
Tissue Paper (or tracing paper which would probably have been easier if I'm honest)
A Soft Pencil
Air Erasable Pen
Optional:
Iron on embroidery backing

How too:
Unless you can do beautiful cursive lettering, you'll need to type your chosen phrase in a font that you like. I used a free font called 'fox in the snow', but a quick search for cursive fonts will bring up millions so choose one you like that isn't too complicated or tightly looped as you'll need to be able to embroider it.
Using an image editor, type your chosen phrase and resize it to fit nicely on your piece of clothing. If you want it to curve as mine does, any programme with a 'text warp' or 'word art' type of function that will curve your text is perfect.
Next, you'll need to flip your text so it's backwards. If you're happy to trace the text straight from the screen, hold your tracing paper over the lettering and trace with a soft pencil. If you can't, or don't want to do to this on the screen, you can print it out, but make sure when you're sizing your text to fit your item of clothing you're viewing it at 100%. If you've printed your text hold the paper up to a window (technical!) place a piece of tracing paper over this and draw over the text.
If you've not been able to flip your text, you can print it out the right way round, then hold it up to the window backwards. You should still be able to see it well enough to trace it.
Whichever way you choose to do it, you need to end up with a piece of tracing paper with your chosen phrase written on it backward in soft pencil. Are you following so far? This is very simple, honest!

Next, position your text, pencil side down in position on the item you'll be embroidering and using the back of your fingernail, or the wrong end of a pencil gently rub over the whole surface. I used tissue paper which wasn't the best idea as it was very flimsy, so you will be able to be a bit more forceful with your tracing paper.
This should leave a feint pencil line on your item. You can then draw over this with an air erasable pen which will make it much easier to see and also much less likely to rub off. The other bonus is that the pen will fade in 24 hours so you'll be much less likely to leave your project half finished and think 'Oh I'll finish that later' then come back to it in four years time when it's crumpled up and you can't even remember what it was supposed to be. I can't be the only person guilty of this...
Once you've got your text successfully transferred onto your jumper, use an embroidery hoop to pull the fabric taught. To say this next part feels like a bit of an insult, but I'd be lying if I said I hadn't made similar daft mistakes...make sure you only put the hoop on the layer of fabric you'll be stitching on to - don't stitch the front and back together!

Cut a length of embroidery thread and split the strands in half so you've got two three-strand lengths. Tie a knot in one end and thread the other onto a sharp, fine needle. Using back stitch, work along the length of your text with small even stitches. (If you're unsure about how to do backstitch, Mollie Makes Library of Embroidery Stitches will be helpful here)

Tie off your thread at the end, and you're done! If you want to make your stitching more secure, and stop the stitching rubbing if you've embroidered a t-shirt or something else worn next to the skin, you can iron a piece of embroidery backing onto the reverse.

No comments